


Give Thanks sign $14.99
Pumpkins: The unofficial symbol for fall. It seems they have swooped in overnight with the arrival of the season, and along with them a sense of magic has filled the air. When I was young, we simply used pumpkins at the end of October for jack-o-lanterns, but nowadays, the many uses for pumpkins have extended their staying power. With the onset of autumn, these gnarly gourds can be seen adorning many a front porch, as well as on tables, shelves, and pretty much any surface used to decorate!
I’d like to share with you some of my favourite uses for pumpkins at Thanksgiving.
The first being the obvious and infamous pumpkin pie. If you would like to try your hand at making this holiday favourite from scratch, we have a couple different pumpkins at the garden center that we recommend for baking. Most pumpkins are edible but tend to have a stringy texture or stronger squash flavour which isn’t always desirable for desserts. (Fun fact: Did you know that all pumpkins are actually squash? The term pumpkin is mostly used for the varieties that are grown late in the season and into winter.) The most popular choice for baking is the appropriately named Pie Pumpkin or sometimes referred to as Small Sugar.

Pie Pumpkins $2
This pumpkin is small and easy to handle, weighing about 4-5 lbs. It is delicately sweet, and slightly less flavourful, making it the perfect candidate for desserts.
Caribbean or Jamaican Squash have become hugely popular for decorating as they are available in many different colours, and have a pastel appearance, almost like they’ve been whitewashed. Many people don’t know that these are also fantastic for cooking! They have a smooth and sweet flavour that is perfect for soups, curries and of course…pies!

Caribbean Squash $7
After you’ve decided which pumpkin to use, making the puree is quite simple. Cut your pumpkin in half and remove the seeds and stringy parts. Chop the remaining halves into chunks (leave the skin on) and boil them in a large pot of water until soft, approximately 30 minutes.

Tea Towel $14.99 | Island Bamboo Scooper $14.99

Island Bamboo Measuring Spoons $19.99 | Tea towel $14.99
Once they’ve cooled enough to touch, the skin comes off quite easily and can be removed, the rest can be pureed! I used 2 pie pumpkins and had enough to fill a 9.5 inch pie with lots to spare. Why settle for canned when fresh is so easy!?
Here's the recipe I used from Allrecipes.com (although I did add in a little allspice)
HOMEMADE FRESH PUMPKIN PIE
Pastry Crust:
- 1 ⅓ cups all-purpose flour
- ½ teaspoon salt
- ½ cup shortening
- 3 tablespoons cold water, or more as needed
- 2 cups mashed, cooked pie pumpkin
- 1 (12 fluid ounce) can evaporated milk
- 2 large eggs, beaten
- ¾ cup packed brown sugar
- ½ teaspoon ground cinnamon, or more to taste
- ½ teaspoon ground ginger, or more to taste
- ½ teaspoon ground nutmeg, or more to taste
- ½ teaspoon salt

Step 1
Preheat the oven to 400 degrees F (200 degrees C).
Step 2
Make the pastry crust: Mix flour and salt together in a bowl. Cut in shortening with a pastry blender until mixture resembles coarse crumbs. Mix in 3 tablespoons water, one at a time, until dough is moist enough to hold together. Add up to 1 more tablespoon water if needed.
Step 3
Shape dough into a ball with lightly floured hands. Roll dough on a lightly floured surface to a thickness of 1/8 inch. Place an 8- or 9-inch pie pan upside-down on the dough; use a sharp knife to cut a circle of dough 1 1/2 inches larger than the pie pan. Remove and discard dough scraps and set pie pan aside.
Step 4
Gently roll circular piece of dough around the rolling pin; transfer it right-side up over the pie pan. Unroll, easing dough into the bottom of the pan. Use two hands to flute the dough around the top edges.
Step 5
Make the filling: Beat pumpkin, evaporated milk, brown sugar, eggs, cinnamon, ginger, nutmeg, and salt in a large bowl with an electric mixer until well combined. Pour into the prepared crust.
Step 6
Bake in the preheated oven until a knife inserted into the filling 1 inch from the edge comes out clean, 40 to 60 minutes. Cover the edges with foil if needed to prevent from burning as the filling cooks.
Step 7
Remove from the oven and cool to room temperature before serving. *Can be stored in the fridge for 4 days or frozen.

Medium Gourds 3 for $1 | Large Gourds 2 for $1 | 19" Cream Pampas pick $29.99
I am not an experienced baker…and in the excitement of the moment, I may have had a mental lapse and tipped the pie over before the custard set…spilling the filling out of the pie and onto the counter! I managed to carefully scoop it back in and baked it for a short while longer, hoping the center would form together again. 🤦♀️ What a disaster! But you know what, I still think it looks pretty ok! We’ll call it ‘rustic’. The most important thing is, it tastes like a slice of heaven!
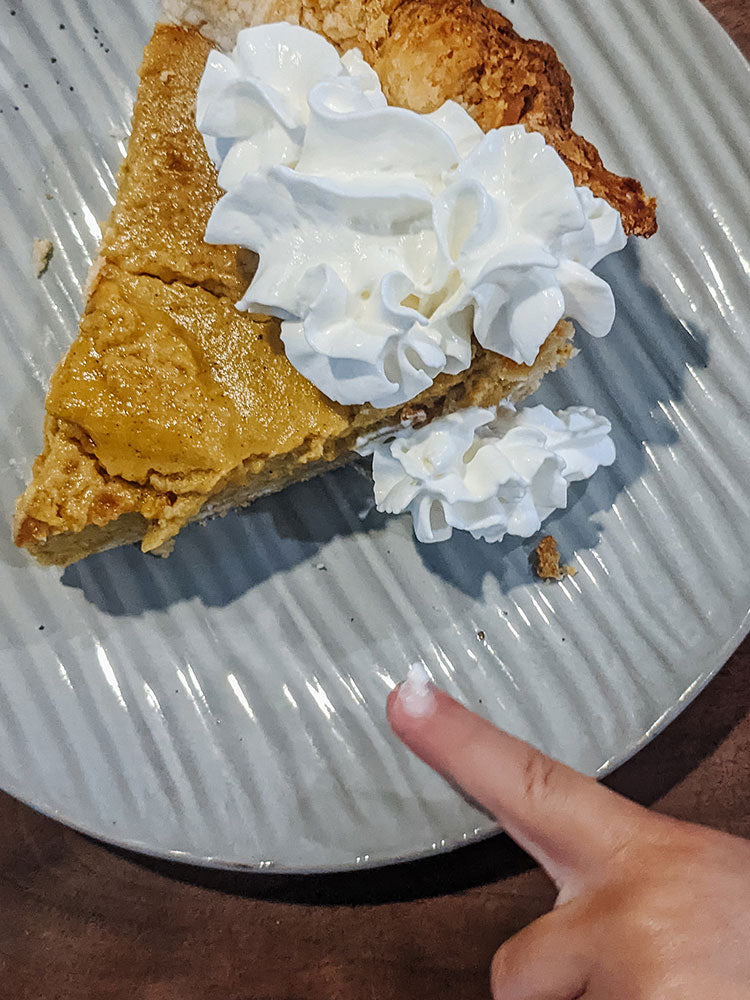
Dessert plate $12.99 (currently on sale for additional 30% off)
Small decorative gourds have become another holiday favourite. They are a fantastic ornamental option as they add a natural element to your décor, and they are super inexpensive. You can spot them scattered over haybales amongst their larger counterparts in many a doorway, or strategically placed on shelves and tables. I will be using them as candle holders for added ambiance at Thanksgiving dinner. Let me show you this simple, big impact, DIY project. If you have a drill and the right drill bits, it takes no more than 15 minutes to make a beautiful assortment of tealight and candlestick holders.

Medium gourds 3 for $1 | Large gourds 2 for $1
To start, find gourds that have a flat bottom to sit sturdy on the table. Once you have them laid out, mark the top center – this will be the point where your drill bit first hits. To make a tealight holder, you will need a 1.5-inch bit, and for candlesticks a 7/8-inch bit. You can use either a spade bit or a forstner bit to hollow out the hole for the candle to sit in.

You will also need a vise grip or some kind of clamp to hold them in place. (I do not recommend holding them, as that will likely lead to injury.) I also suggest wrapping the sides and bottom of your gourd in a cloth, or covering the clamp part to prevent it from damaging the outside. I simply put a couple layers of paper towel around mine. Once you drill though the outer layer of flesh, the inside is quite soft, be ready to lift your drill quickly when it plunges. Don’t be intimidated, this is actually super simple and fun!

Once your hole is drilled and cleaned, insert your candle and check for size. With a candlestick, you want it to be upright and sturdy. If it is wiggly, simply hold it in the right position and light a different candle to drip the wax in to form a tighter seal around it.

12" Premium Candlesticks $12 for set of 2
And there you have it, beautiful additions to your autumn décor!


